Step by Step process-Restoring antique photographs for ChowTales archive
Once the excitement and adrenaline rush of a new photo find wears off (well it really never wears off), I am onto the job (and fun) of scanning, restoring and archiving these treasures! So many of you have asked what the process is so I decided it was time to put it into writing.
 ABOVE IS AN EXAMPLE OF HOW I WISH ALL PHOTO RESTORATIONS COULD GO
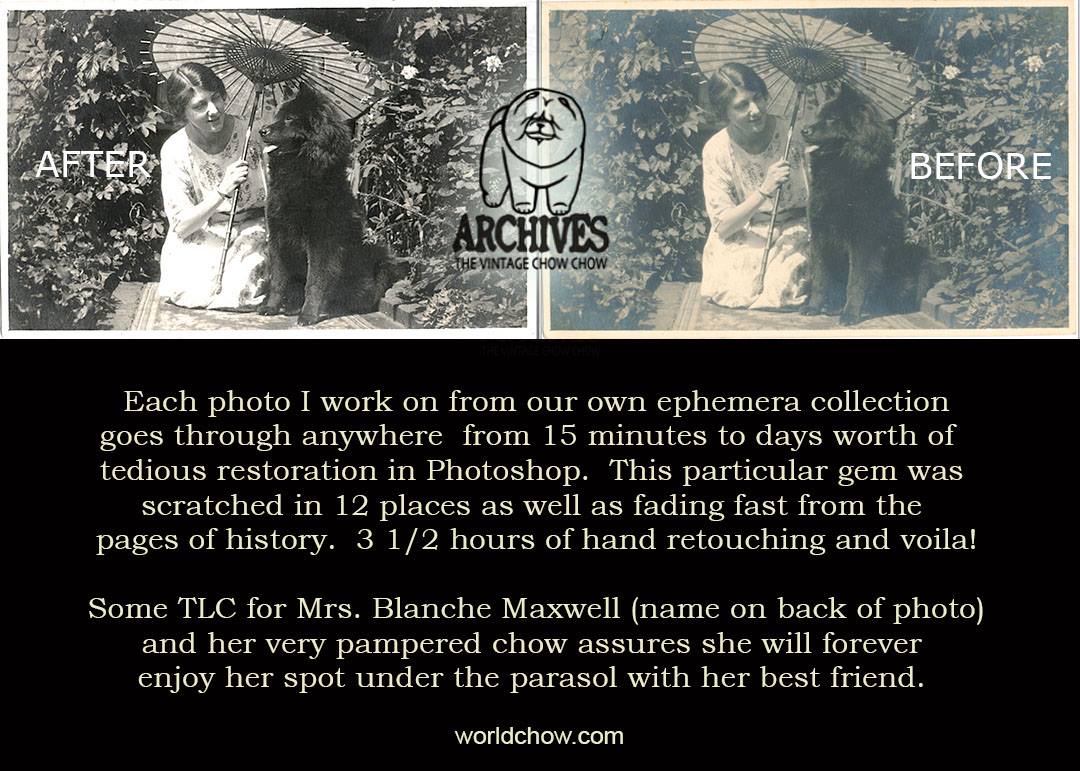
The image above took days of editing, but the results were spectacular. There was enough “information’ in the original image to pull out an amazing amount of detail. I really surprised myself on this one…….Now onto my restoration workflow below!
SCANNING AND TAGGING THE IMAGE
My first step in digital restoration is to first put the white cotton gloves on to keep fingerprints and oils off the images…then scan the original image at 600 dpi or higher resolution. Scanning involves first cleaning the image with a soft cloth as well as the scanner bed to avoid dust flecks on the scan. Once scanned and in my photo program I need to “tag” the photo and title it so it is searchable in the archives later. An example of tagging on the above photo would be words related to the image including the place and date acquired and any information on the back of the photo. For example when I need to find the Blanche Maxwell (above) photo again, I can use any one or more of my tags in the search box to locate it in the archive
EG: 1920,chow,black,parasol,woman,outdoors,sitting,america,umbrella,carpet,rug,blanche maxwell ….you get the drift.
 THIS PRECIOUS PHOTO SHOWS AFTER AND BEFORE AND HOW SEARCH TAGS LOOK IN MY MEDIA LIBRARY
THE FIRST LARGER ADJUSTMENTS
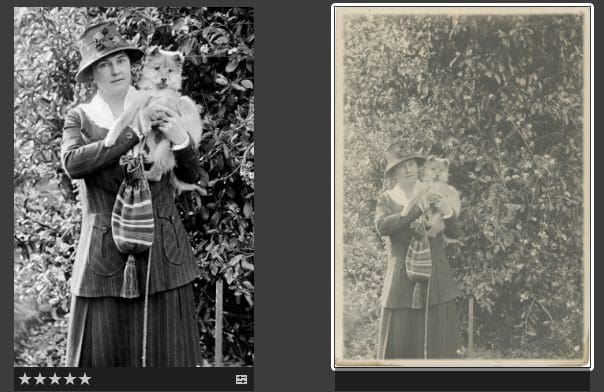
Each photo requires a completely different approach so there isn’t a formula for restoration however I do routinely use COLOR BALANCE, HUE, SATURATION and many are converted to BLACK AND WHITE as my first steps to bring forward the details. While the monochromatic effect of a sepia patina is beautiful and charming……it tends to mask important details. Most sepia toned antique photos have a flatness to the image which is an important thing I like to try to correct right up front before I get to the details. I want the subject to pop forward a bit more using CONTRAST and CURVES in Photoshop. I like to display both versions of a photo where I can because I love each version for different reasons.
 ABOVE IS A GREAT EXAMPLE ON HOW CONTRAST AND B&W CONVERSION TAKE AWAY THE FLATNESS OF AN OLD IMAGE
|
|
SCRATCHES AND SPECKS
This is where the majority of time is spent in Photoshop. I start with the HEALING BRUSH and CLONING TOOL and deal with major scratches and bends to the photo. I want to have the repair blend in seamlessly with the original background . I work on a copy of the original scan in a separate layer to make sure the original is always there if I make a major mistake and also to use as reference.
Small specks are on pretty much EVERY photo and that is where the HEALING BRUSH works wonders. Some images I can spend a full hour or up to days touching up specks and scratches
The CLONING TOOL works best for larger areas of damage or where a perfect match to a skin tone or fur is in order
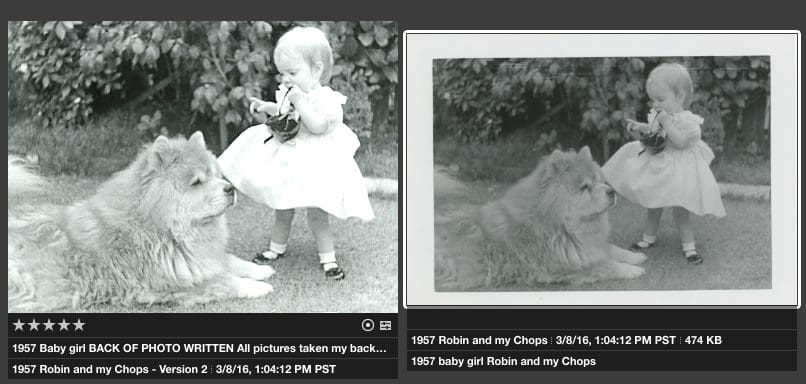
The photo of the girl with a chow on a glider was very damaged, scratched faded and full of dust and “noise”. This was a tough one
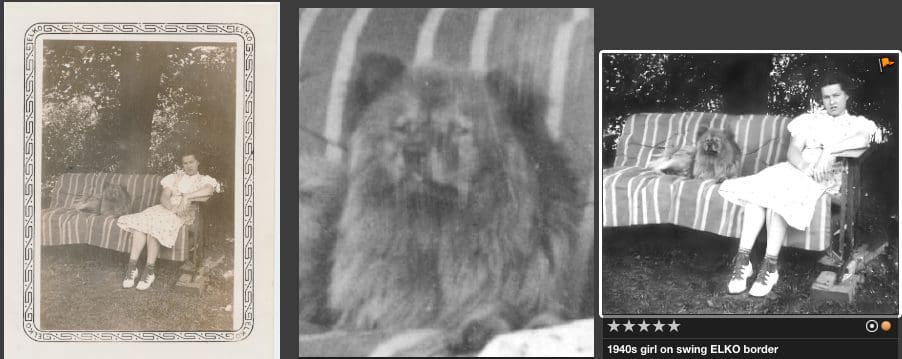 LEFT: FADED ORIGINAL CENTER: DEEP SCRATCHES IN THE CHOW FACE RIGHT: SHOWS THE RESTORED VERSION
FINAL ADJUSTMENTS
The final steps are CROPPING and then finally SHARPENING the image which can easily be overdone, as the softness of an antique image is where the charm is. Over sharpening can also accentuate flaws in the photo ….it needs to be done with a gentle touch so as not to lose the original essence of the photograph.
In cropping the image I try to always include the important details in the photo that help create a sense of place and time. Shoes, clothing, houses, toys and automobiles in the background are all important points of reference. Even though my subject is almost always CHOWS…..the details surrounding the dog(s) count for a lot in vintage photography.
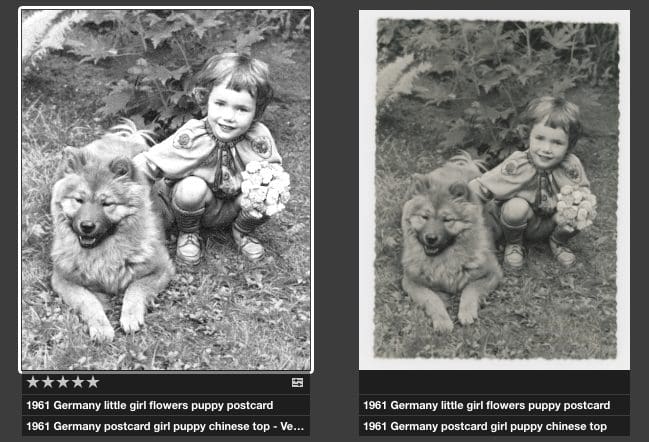
 THIS IS A GOOD EXAMPLE OF HOW THE CROP WAS VERY IMPORTANT. I DID IT 2 WAYS FOR 2 DIFFERENT REASONS
In the first crop I wanted to get in close to see how the chow looked…afterall this is a Chow Archive and also to see the mystery man from the original faded photo. The second crop is extremely important in identifying this famous man in a snapshot that had no ID. I bought it for the chow only. It turns out this is Llewellen George, the founder of modern astrology in front of his California storefront. Without the sign in the crop he would be hard to identify.
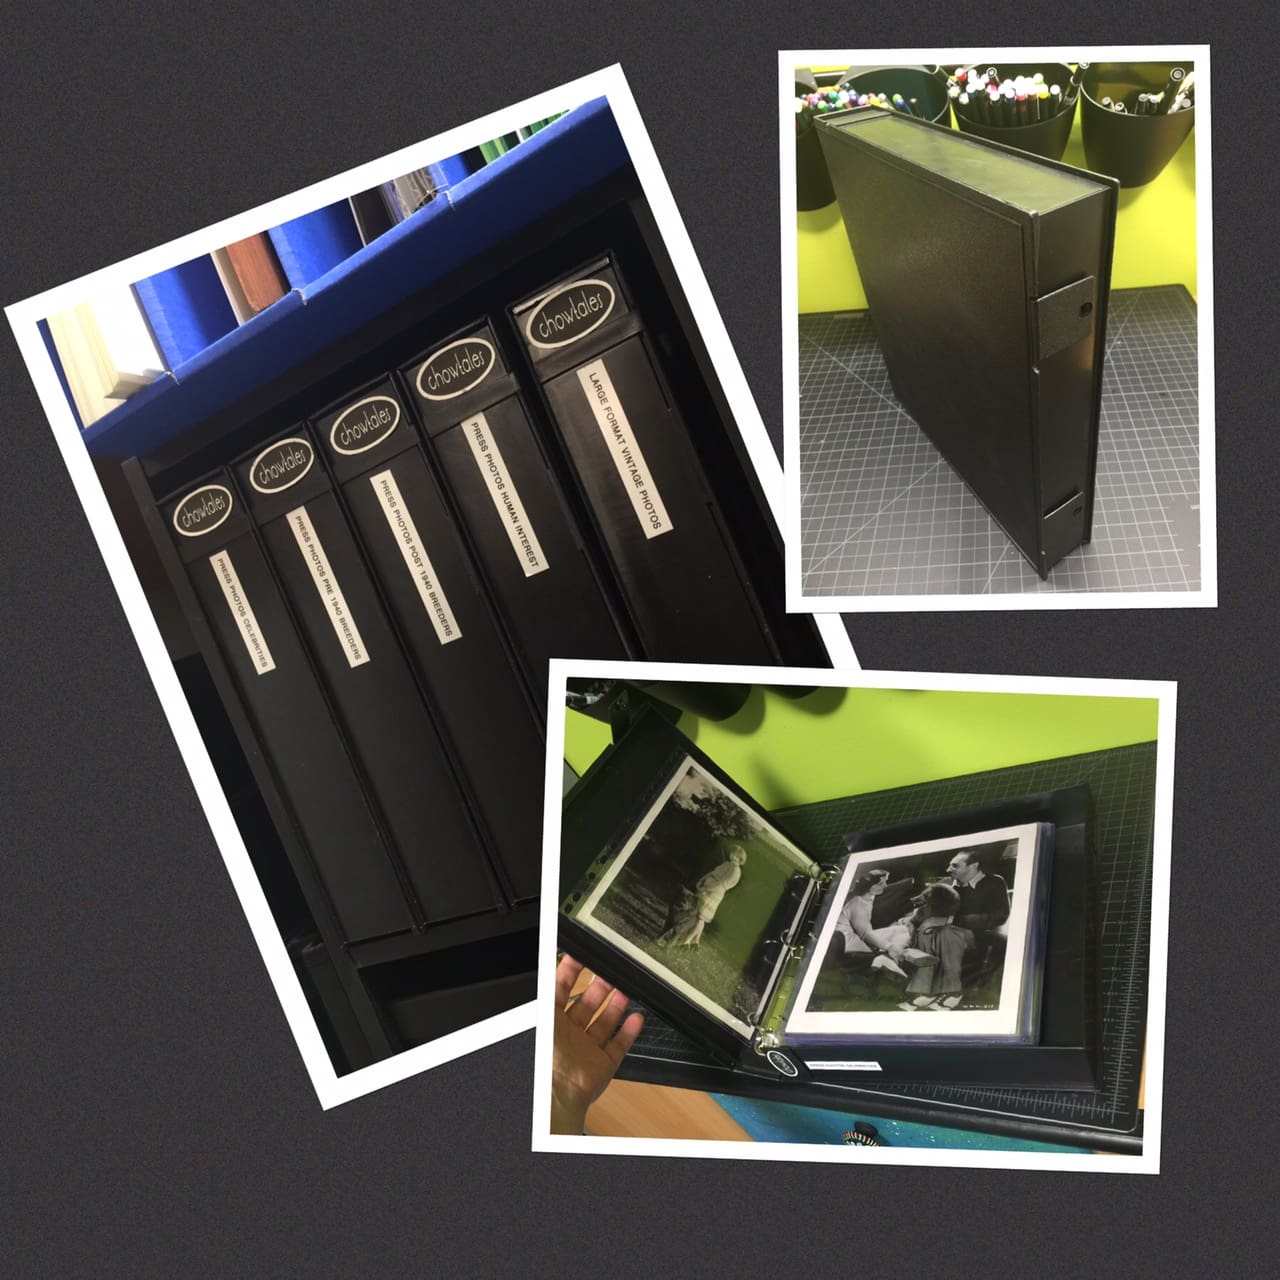
ARCHIVING THE ORIGINAL PHOTO
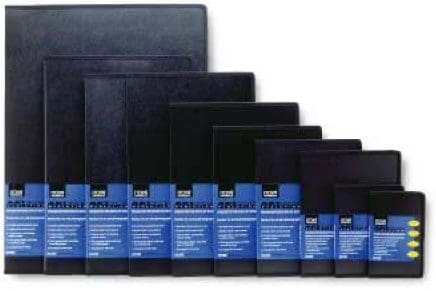
This is another time consuming part of the process. Each ORIGINAL photo after the scan needs to be catalogued with important details written in pencil on the back. Each photo goes in an acid free archival soft clear sleeve, and many fragile photos then are put into yet another rigid sleeve and catalogued in museum quality leather bound albums, portfolios and photo boxes.
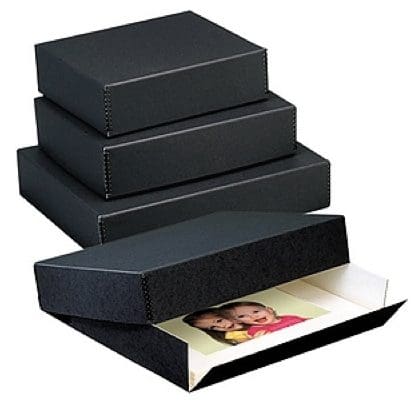
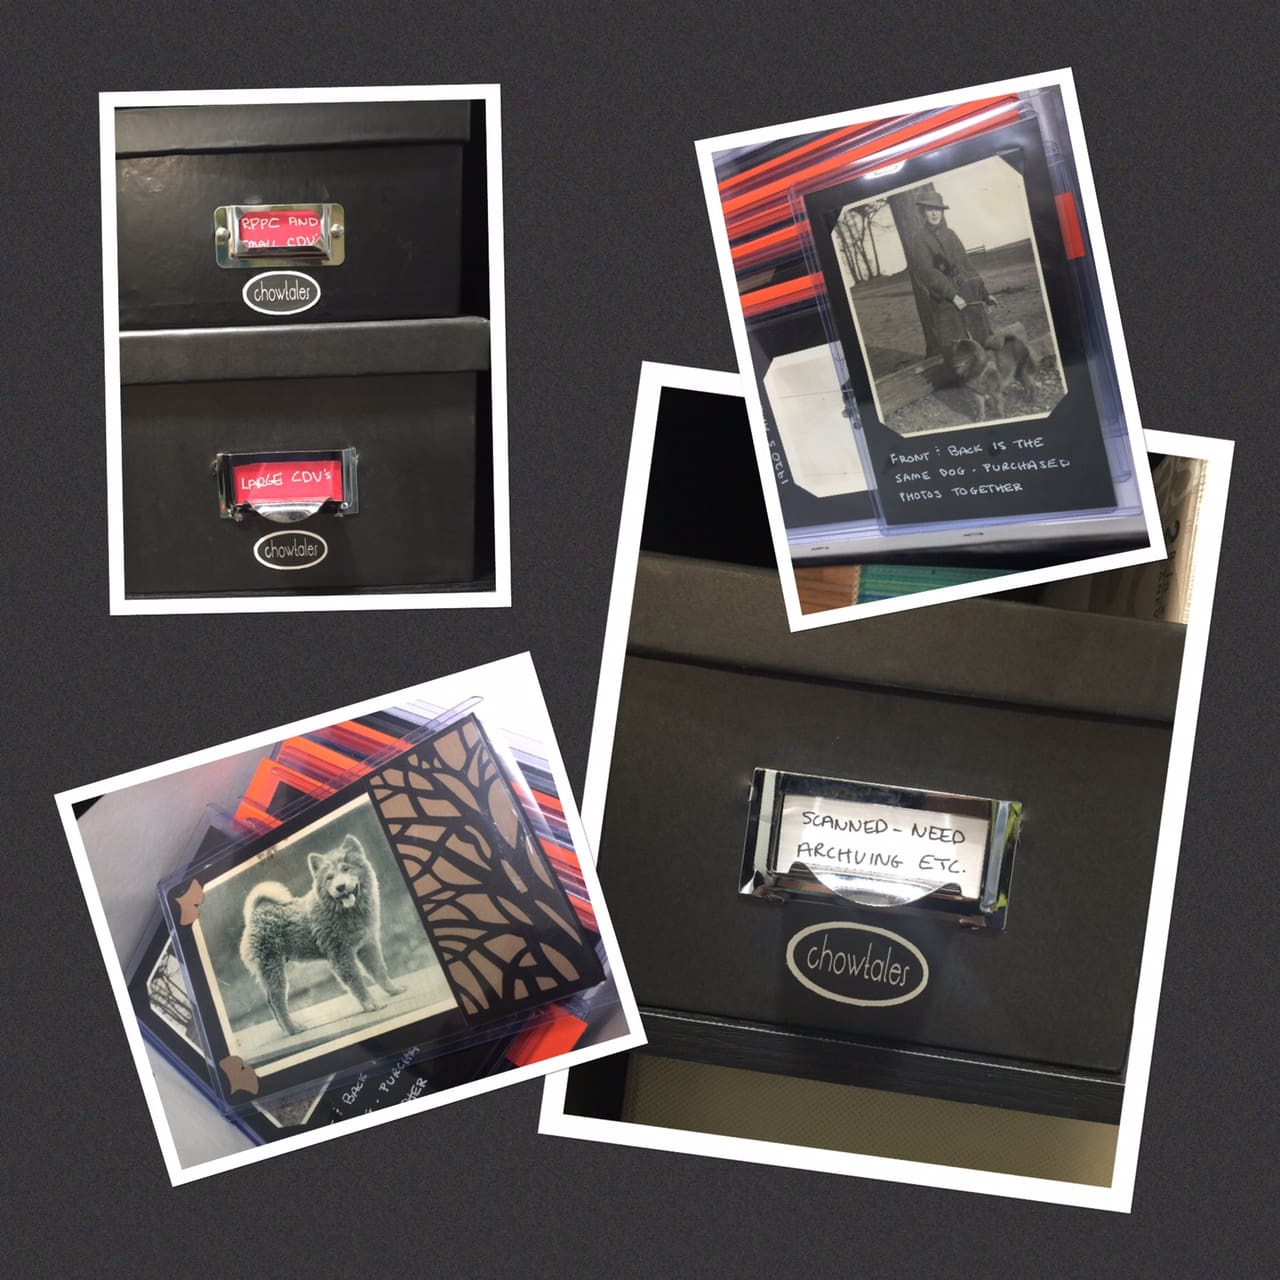

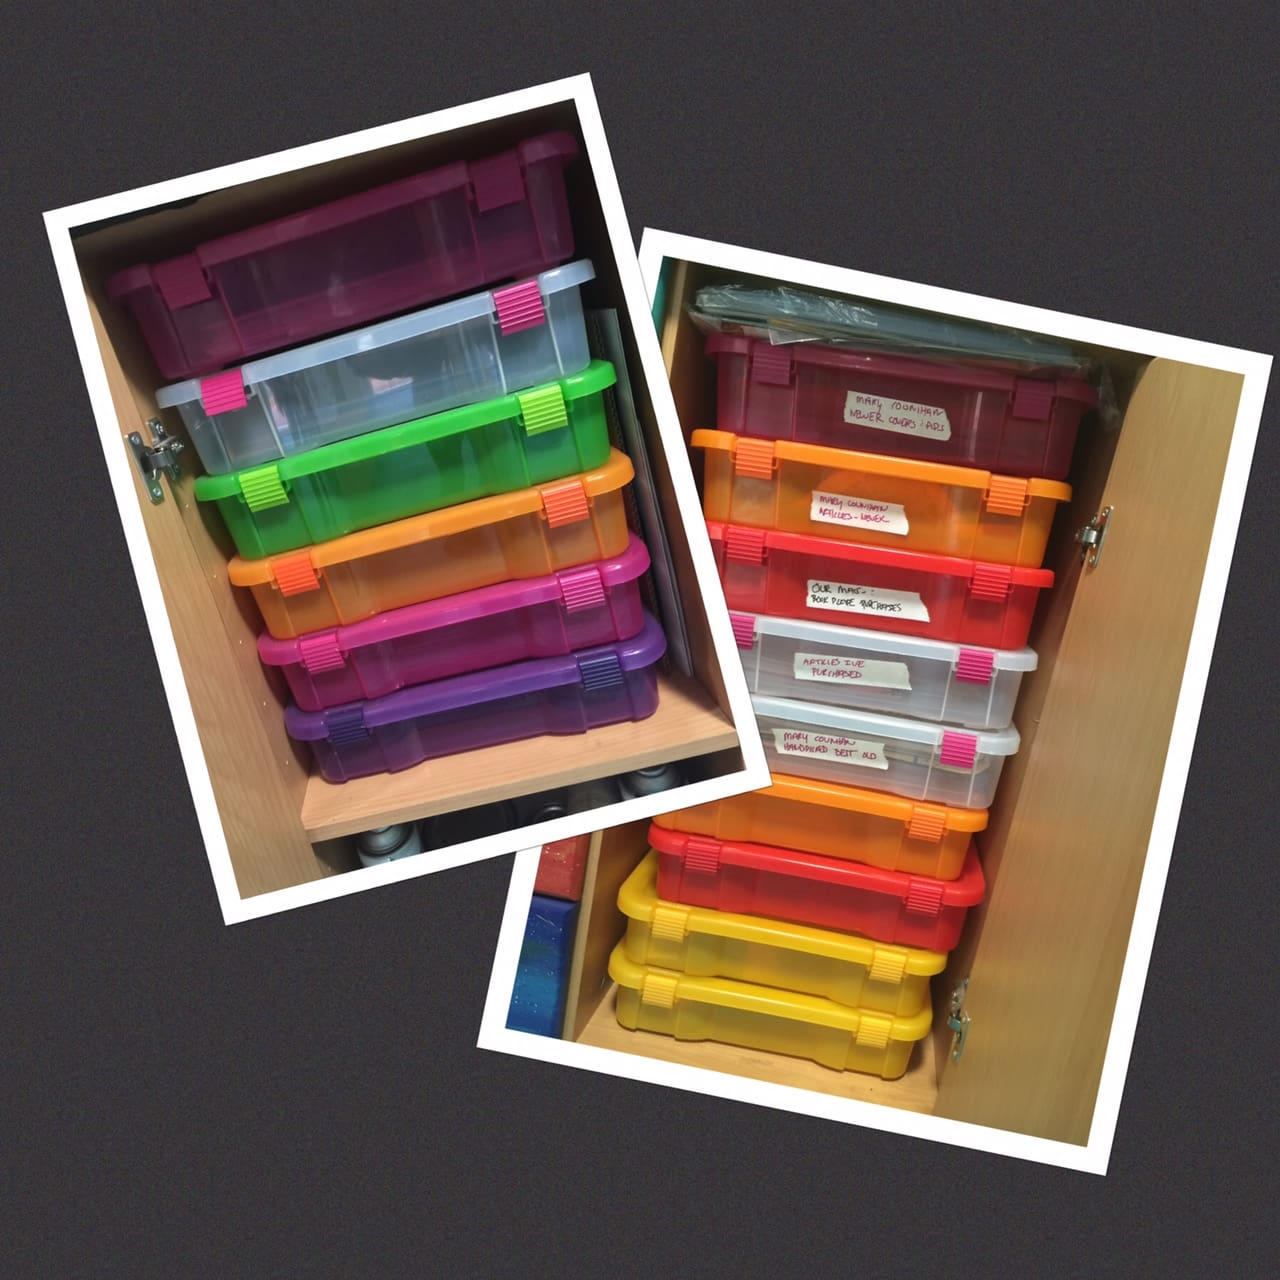
STORING THE ARCHIVED IMAGES
The Library of Congress has a wonderful page on how ot store and archive photographs. I use their protocol wherever possible
CLICK HERE FOR LIBRARY OF CONGRESS STORAGE GUIDELINES
I know my husband is nervous our house is going to end up like this corridor at the National Archives in Washington DC.. LOL! Except there would be chows running up and down the corridors in my version!
